Tips & tricks · Workflow · Mac · ~15 min a day · 3 min read
Multiple desktops: separate work from communication
Last reviewed:
Ctrl+→
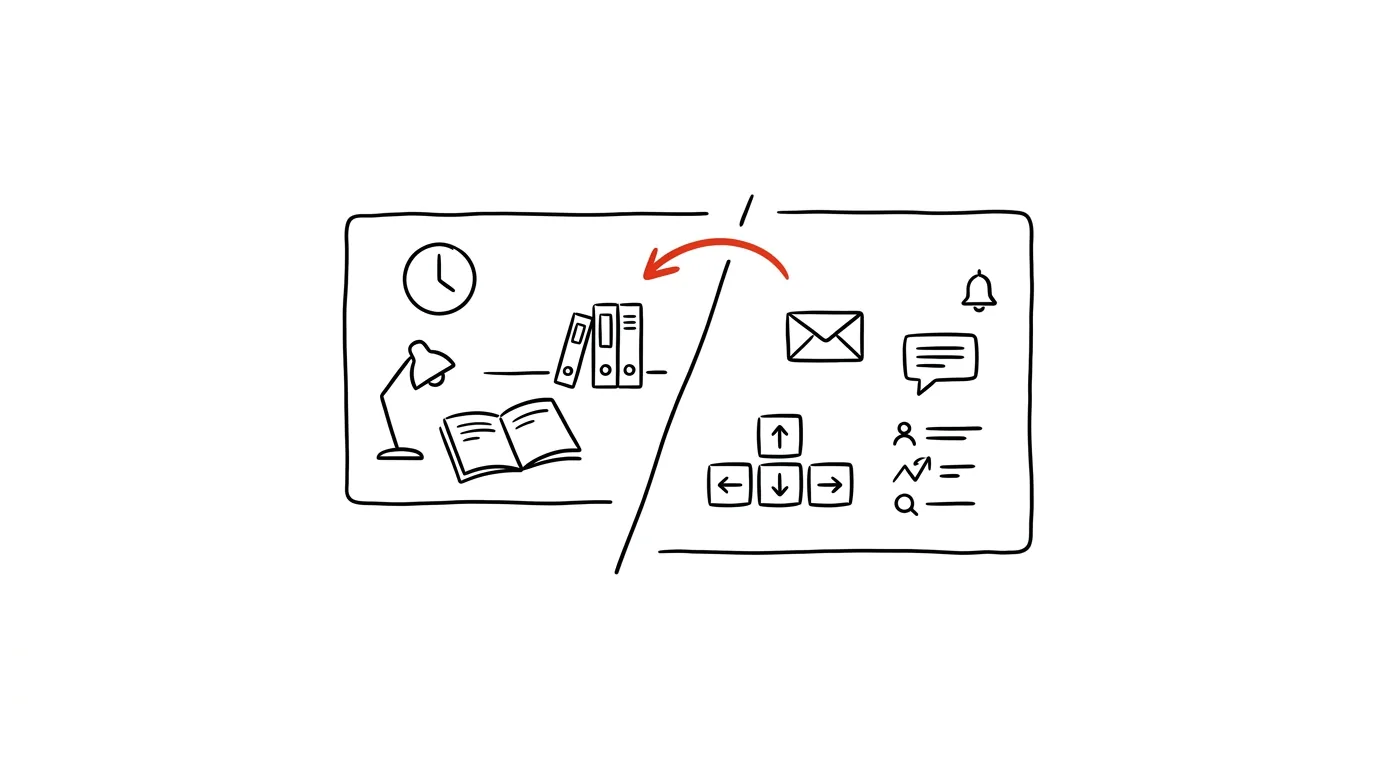
Not having Slack and mail constantly in view is the cheapest "focus mode" that exists on a computer — and it doesn't require any extra app. The feature has been part of the system for years, yet plenty of people walk right past it because they've never tried clicking the small plus sign in Mission Control. Virtual desktops on macOS let you split your work into separate "rooms": one for focused work, one for communication, and you switch between them with a simple shortcut or gesture, without closing anything.
A typical scenario
You're working on a document in one window, with Slack open right next to it on the same desktop. Even if you don't read a message from it, you register the blinking icon out of the corner of your eye, and your thoughts drift, even if you never actually click on Slack.
With separate desktops, Slack is completely out of sight — you physically won't see it until you switch to the other desktop where you sent it. You come back to your communication desktop at a moment you choose deliberately, not every time something flashes on screen.
How to do it
- Press Ctrl + ↑ — Mission Control opens with an overview of all your windows and desktops.
- Click the + button in the top-right corner to add a new desktop.
- Move your focused-work apps (text editor, spreadsheets, code) to one desktop, and communication apps (mail, Slack, messages) to the other — just drag the window in Mission Control onto the desktop you want.
- Switch between desktops with Ctrl + → and Ctrl + ←, or with a three- (or four-) finger swipe left or right on the trackpad.
- Switching also works via the dots at the top of Mission Control, where you can see which desktop you're on and how many there are in total.
- You can create more than just two desktops — say, a dedicated one for a project, one for communication, and one for personal things you want to keep separate from work.
- You can't rename a desktop directly, but the order and window previews in Mission Control still make it easy to tell them apart at a glance.
The best tools
- Built-in virtual desktops (Spaces) and Mission Control — free, fully integrated, no installation.
- Assigning an app to a desktop from the Dock — right-click the icon → Options → Assign To This Desktop — the app will then always open exactly where it belongs.
- Rectangle or Magnet — for arranging windows within a single desktop, complementing virtual desktops with a clean side-by-side layout.
- Stage Manager — an alternative approach to organizing windows, for those who prefer grouping windows over separate desktops.
What you get out of it
- Focus: without constantly visible notifications, you return to full concentration faster after every interruption.
- Clarity: each desktop has a clear purpose, so you don't get lost among your open windows.
- Calm: communication doesn't shout at you from the corner of the screen until you decide to look at it yourself.
- A habit that transfers: once you get used to separating context by desktop, it works just as well for juggling multiple projects, not just for separating yourself from communication.
Pro tip
Right-click an app icon in the Dock and choose Options → Assign To Desktop to make sure the app always opens on its assigned desktop — you don't have to drag it there manually every time, and it works automatically even after restarting the computer.
Want to go deeper? The handbook has a whole chapter on it — Core systems: inbox, priorities, reviews.
Similar tips
Three tasks for the day: pick in the morning, check in the evening
Not a list of twenty items, but three things that absolutely must get done today. Everything else is a bonus.
The weekly review: 30 minutes that run your whole week
On Friday or Sunday, go through your calendar, tasks, and notes — close out loose ends, plan three priorities. Monday starts with clarity.
Aliases and scripts: automate what you type three times
Long commands, build sequences, switching environments — all of it belongs in aliases and scripts. Ten characters instead of eighty.
Was this helpful?
Liked this tip?
I send one like it every week by email. Two minutes to read, hours saved.
The Top 30 tips e-book, free — it lands in your inbox right away.
Then 1 tip a week · no spam · unsubscribe in one click
Prefer a system to single tips? The free email course — seven days, seven emails, one skill a day.