Tips & tricks · Shortcuts · Mac · more space · 3 min read
Hide the Dock and reclaim a slice of your screen
Last reviewed:
Cmd+Option+D
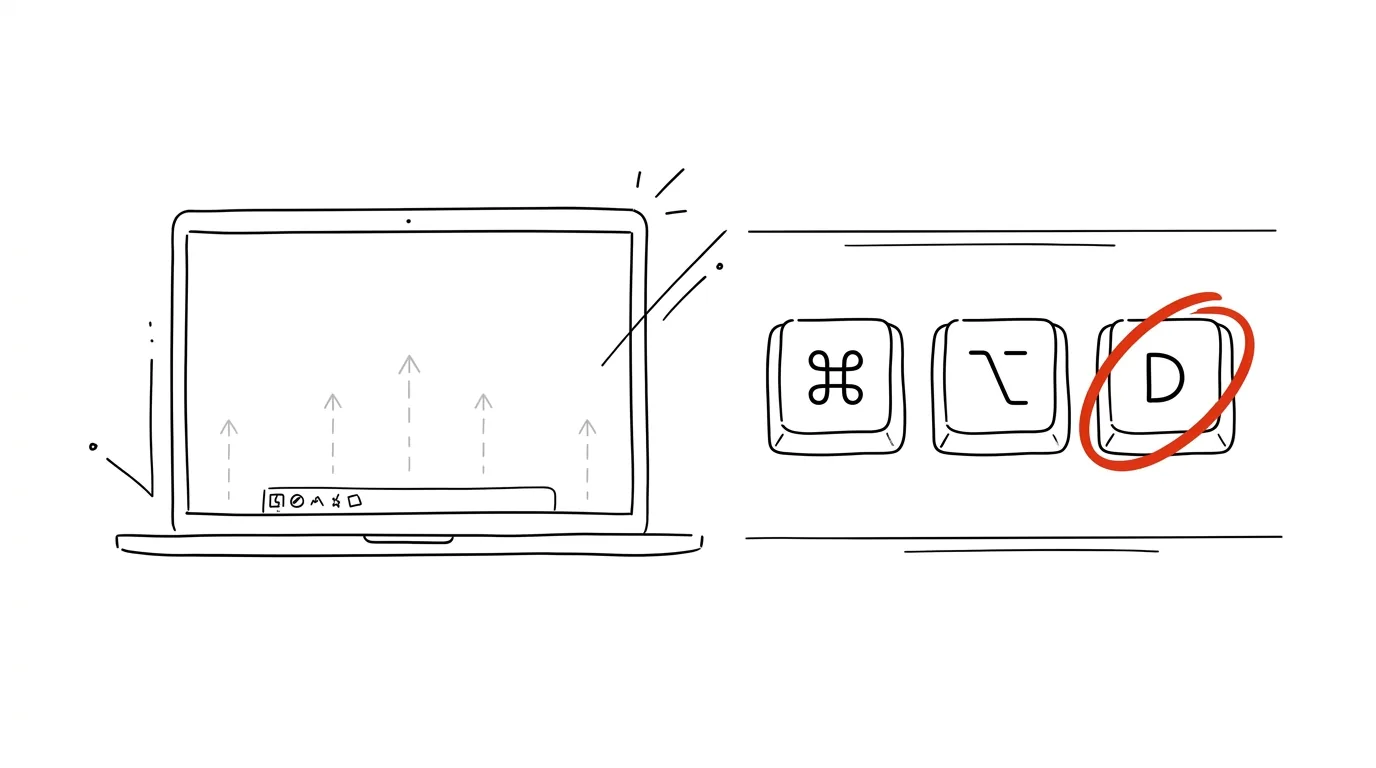
On a 13" display, every inch counts, and the Dock permanently eats up a strip at the bottom (or side) of the screen even when you're not using it. Hiding the Dock gets that space back without losing the Dock itself — it slides back out exactly when you need it.
A typical scenario
You're working on a laptop with a smaller display, and your editor or spreadsheet window is missing a few rows because the Dock is taking up space at the bottom of the screen. You don't want to move it to the side or shrink it, because then the icons get too small to click precisely. Hide the Dock (Cmd+Option+D) and you get that strip back permanently — just move your mouse to the edge of the screen and the Dock pops out briefly whenever you actually need it.
How to do it
- Press Cmd + Option + D — the Dock disappears from the screen immediately.
- Move your cursor to the edge of the screen where the Dock normally sits and it temporarily slides back out; move away and it disappears again.
- The same shortcut (Cmd + Option + D) brings the Dock back permanently if you decide you don't want auto-hide anymore.
- You'll also find the setting permanently in System Settings → Desktop & Dock, as a toggle rather than just a shortcut.
- In the same panel, you can move the Dock to the left or right edge of the screen — on widescreen monitors that makes more sense than the bottom, since it doesn't eat into vertical space.
The best tools
- Dock auto-hide (built into macOS) — free, a single toggle or shortcut, nothing to install.
- Taskbar auto-hide on Windows — a similar option in Settings → Personalization → Taskbar.
- Rectangle / Magnet — not directly related to the Dock, but they solve a similar space problem on a small display by making it easy to snap windows to half the screen.
What you get out of it
- Extra space: on a 13" display, that's a noticeable strip of screen that would otherwise stay permanently occupied by icons even when you're not using them.
- Fewer distractions: a Dock that's always visible tempts you into an occasional "just checking" click — hidden, you only see it when you actually want to.
- A cleaner screen when sharing: during presentations or screen sharing on a call, a hidden Dock doesn't clutter the view.
- Quick access when you need it: moving to the edge of the screen is just as fast as having the Dock permanently visible, minus the space it takes up in between.
Pro tip
Pair the hidden Dock with keyboard shortcuts for launching apps (Spotlight, Cmd+Tab) — then you barely need to summon the Dock at all, and you get the full benefit of the extra space, since you reach apps another way instead of mousing to the edge of the screen.
Want to go deeper? The handbook has a whole chapter on it — The app categories that matter.
Similar tips
Switching Sheets: Ctrl+PageUp and PageDown
Ctrl+PageDown
Move between the sheets of a workbook from the keyboard — no clicking the tabs at the bottom.
Paste Values Only: Formulas Out, Numbers Stay
Ctrl+Alt+V
Ctrl+Alt+V opens Paste Special — paste results without formulas, formats without content, or transpose a table.
Double-Click the Fill Handle to Copy a Formula All the Way Down
You don't have to drag a formula across a thousand rows — double-clicking the little black square copies it down to the end of the adjacent data.
Was this helpful?
Liked this tip?
I send one like it every week by email. Two minutes to read, hours saved.
The Top 30 tips e-book, free — it lands in your inbox right away.
Then 1 tip a week · no spam · unsubscribe in one click
Prefer a system to single tips? The free email course — seven days, seven emails, one skill a day.