Tips & tricks · Workflow · Mac · ~10 min a week · 2 min read
A shortcut for resizing images: right-click instead of online tools
Last reviewed:
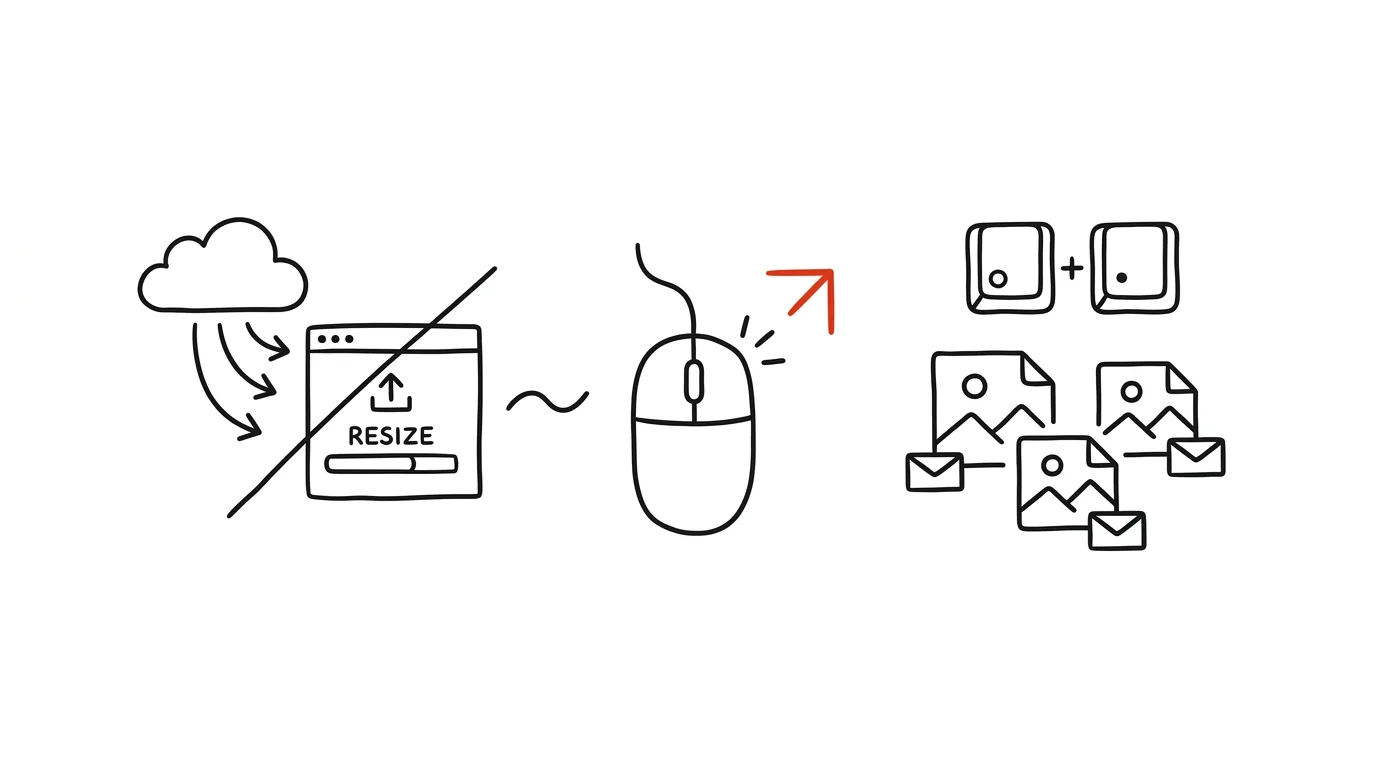
Photos straight from an iPhone can easily be five or ten megabytes each — and you need to email eight of them, or upload them to a web admin panel that rejects them outright. Instead of an online image shrinker you'd be uploading company material to, build your own Quick Action once in the Shortcuts app. After that, you just select photos in Finder, right-click, and get resized copies. It's the simplest meaningful automation on a Mac — and a great first taste of Shortcuts on something you'll actually use.
How to do it
- Open the Shortcuts app (built into macOS) and click + for a new shortcut.
- Add the Resize Image action — find it by searching in the actions panel on the right. Set the width to, say, 1,600 points; the height calculates itself.
- Add the Convert Image action and choose JPEG, so files stay small and open on any device.
- Add the Save File action — either asking where to save each time, or saving to a fixed folder like Downloads.
- Click the info icon (ⓘ) in the right panel and turn on Use as Quick Action, with the Finder option.
- Name the shortcut something like "Shrink for email" and close it — it saves itself.
- From now on: select any images in Finder, right-click → Quick Actions → Shrink for email. The originals stay untouched, and resized copies land wherever you specified.
- Once you want more variants, duplicate the shortcut and just change the parameters: "For web" at 1,200 points, "Thumbnails" at 400 points. You then pick the one you need from the Quick Actions menu based on purpose.
- If something doesn't work, check the shortcut's first step — it needs to accept images as input from a Quick Action; Shortcuts displays this receiving block above the first action, and that's where you set it.
A typical scenario
A marketer picks twenty photos after every company event for the newsletter and website. The CMS rejects files over two megabytes, so she used to open each photo in Preview and manually resize it — twenty times, one by one. Now she selects the whole batch, right-clicks to run her shortcut, and has a folder of web-sized versions within seconds. The original full-resolution photos stay in the archive for print. She sent the shortcut to her colleagues too — a shortcut file can be exported and opened on another Mac — so the whole team resizes photos the same way, and nobody sends twenty-megabyte attachments anymore.
What you get out of it
A repeated annoyance becomes a single click, and sensitive material never leaves your computer. But the bigger payoff is learning how Shortcuts works — you can build the same kind of action for anything else you do over and over with images and files: format conversion, watermarking, you name it.
Want to go deeper? The handbook has a whole chapter on it — Core systems: inbox, priorities, reviews.
Similar tips
Exam registration: a reminder for the exact minute it opens
Exam slots fill up within minutes. A reminder set to the exact moment registration opens decides whether you plan your exam period, or take whatever's left.
python -m http.server: share a folder over the network with one command
Need to get files onto another device on the same network? Python turns any folder into a downloadable web page.
SSH config: type “ssh prod” instead of an IP address and flags
The file ~/.ssh/config remembers addresses, usernames, ports, and keys for you. Connecting to a server shrinks down to two words.
Was this helpful?
Liked this tip?
I send one like it every week by email. Two minutes to read, hours saved.
The Top 30 tips e-book, free — it lands in your inbox right away.
Then 1 tip a week · no spam · unsubscribe in one click
Prefer a system to single tips? The free email course — seven days, seven emails, one skill a day.