Tips & tricks · Apps · Mac · ~15 min a week · 3 min read
Quick edits to PDFs and images without Photoshop
Last reviewed:
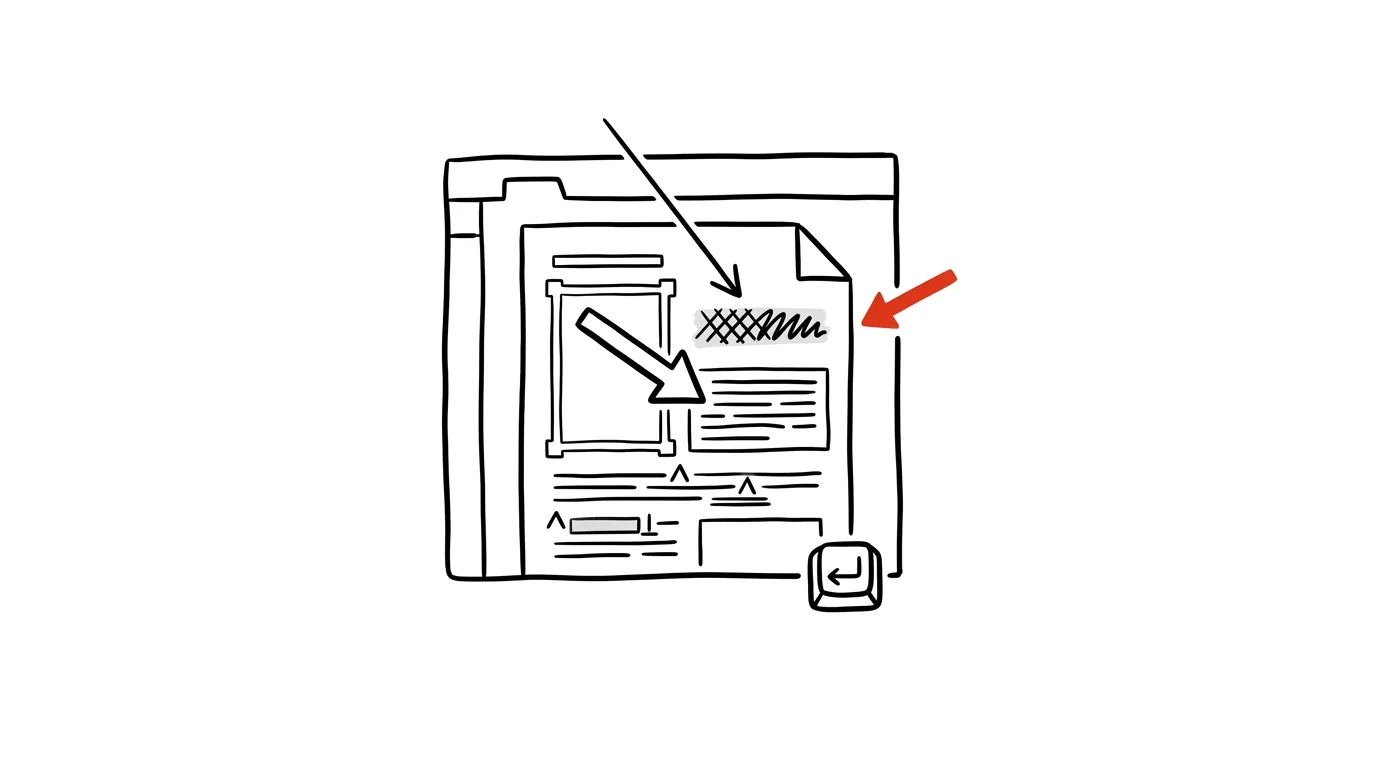
"Circle where I'm supposed to click" or "mark the error in the document" — you can do it in Preview in under a minute, without opening any graphics editor at all. Most people only know Preview as a PDF and image viewer and have no idea it can also edit. Preview, which comes preinstalled on every Mac, can draw arrows and boxes, add text, and blur sensitive information — more than enough for the vast majority of everyday PDF and image edits.
A typical scenario
A coworker asks which button to click in an app. Without annotation tools, you'd have to describe it in words — "the button in the top right, right next to the gear icon" — and she'd probably still spend a while hunting for it.
With Preview's tools, you take a screenshot, circle exactly that button with a red arrow, and send the image — the confusion disappears completely. It works just as well in reverse, when someone sends you a screenshot with an error message and you type directly into the image with the text tool to tell them what to try next.
How to do it
- Open the image or PDF in Preview — double-click it, or use Open With.
- In the menu bar, click the marker-pen icon (Show Markup Toolbar) — this opens the panel with annotation tools.
- The panel offers arrows, rectangles and other shapes, text boxes, a highlighter, and a tool for blurring or blacking out sensitive information (like an ID number or account number on a scanned document).
- Draw or type whatever you need — you can fine-tune color, line thickness, and text size for each tool in a small dropdown menu next to its icon.
- Save your changes with Cmd + S — for PDFs, annotations are embedded directly into the file, so anyone who opens the document will see them, even in a different app.
- The blur tool is usually found in the panel under a target or magnifying-glass icon — select the area, and the sensitive information is irreversibly obscured before you save.
The best tools
- The built-in Preview with its Markup panel — free, no installation, handles drawing, text, and signatures.
- Screenshot (Cmd+Shift+4) combined with Preview — for quickly marking a specific spot on screen and annotating it immediately.
- The Markup panel right from Quick Look — for images and PDFs, you can open annotation tools straight from a Space-triggered preview, without opening the full app.
- Skitch or similar third-party tools — for users who want faster access to their favorite annotation tools or one-click sharing.
- Built-in annotation tools right inside Mail — for attachments, you can open the Markup panel directly in a new-message window, without saving the file first.
What you get out of it
- Time: explaining something "on the picture" is faster to draw than to describe in words, and the recipient gets it at a glance.
- Clarity: visual markup eliminates the misunderstandings that come from describing a position on screen in words.
- Protection of sensitive data: the blur tool can hide account numbers or ID numbers before you send a document on.
- Independence from other software: for everyday annotations and simple edits, you don't need to install or learn a paid graphics editor.
Pro tip
A great trick for cropping: use the selection tool to mark just the area of the image you want to keep, then press Cmd + K — the image crops exactly to the selected area, with no pixel-counting or separate editor required.
Want to go deeper? The handbook has a whole chapter on it — The app categories that matter.
Similar tips
A distraction blocker: stronger than your willpower
Apps like Cold Turkey or Freedom block chosen websites for a set period. Decide once, and it holds for the whole morning.
Screenshot the Whole Page — Even the Part You Have to Scroll To
Ctrl+Shift+S
Edge and Firefox capture an entire web page from header to footer with a single command. No extensions, no stitching pieces together.
In-depth guide · 19 min
Claude, ChatGPT, or Gemini: A Fair Comparison Based on What You Actually Do With AI
Seven criteria, three tools, no marketing: language quality, documents, connectors, routines, and pricing. Plus a decision guide and a test of your pick.
Was this helpful?
Liked this tip?
I send one like it every week by email. Two minutes to read, hours saved.
The Top 30 tips e-book, free — it lands in your inbox right away.
Then 1 tip a week · no spam · unsubscribe in one click
Prefer a system to single tips? The free email course — seven days, seven emails, one skill a day.