Tips & tricks · Gear · Mac · ~15 min a day · 3 min read
Sidecar: turn an iPad into a second monitor for your Mac, no cable
Last reviewed:
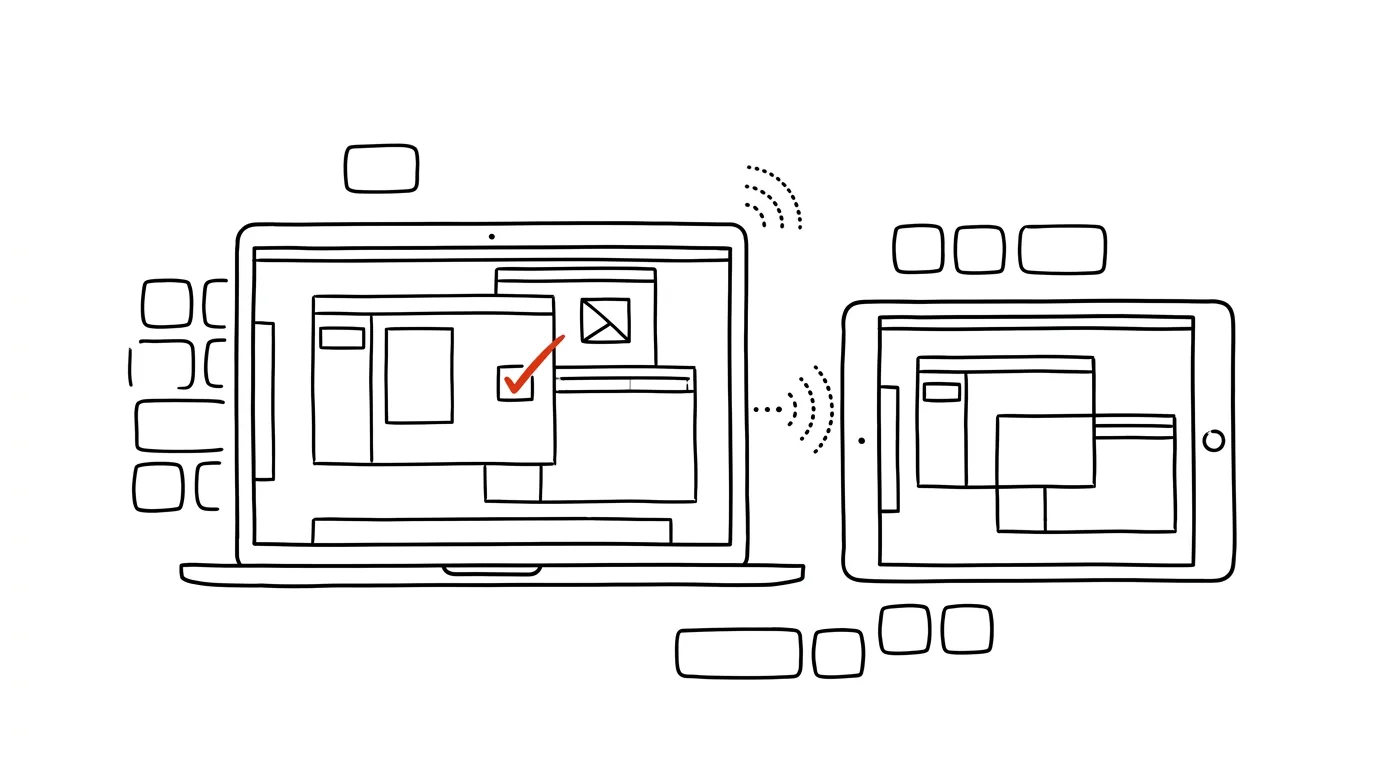
A second monitor is one of the most effective productivity upgrades there is — and plenty of people already have one at home without realizing it: an iPad. The Sidecar feature turns it into a fully functional external display for your Mac, wirelessly and without installing anything. On the road, at a cabin, or at the kitchen table, you get a two-screen setup that fits in a single bag.
How to do it
- You need a Mac and an iPad signed into the same Apple ID, with Bluetooth and Wi-Fi turned on, within roughly thirty feet of each other. It works wirelessly; a cable only helps if you also want to charge the iPad at the same time.
- On your Mac, open System Settings → Displays, click the + button, and choose your iPad. A faster route: Control Center → Screen Mirroring → choose your iPad.
- The iPad connects as an additional monitor — drag any window onto it, just like a regular external display.
- In Displays settings, set where the iPad "sits" relative to your main screen, so the cursor travels naturally between them.
- Choosing mirroring instead of extending turns the iPad into a second screen for presenting — a colleague sees exactly what you see.
- Bonus: the Apple Pencil works on the iPad, so in graphics apps on the Mac you can draw or annotate with the pen directly on the iPad's display.
- Sidecar requires reasonably recent, though not the very latest, hardware — roughly a Mac with macOS Catalina or later and an iPad with iPadOS 13 or later. The fastest way to check if your combination supports it is to see whether the iPad shows up in the Displays menu.
- Disconnecting is as quick as connecting: click the disconnect icon in the sidebar on the iPad, or remove the iPad in Displays settings on the Mac.
A typical scenario
A developer works from home two days a week without an external monitor. She needs code next to documentation and an app preview — on a 13-inch MacBook that's a constant switching nightmare. She props an iPad on a stand next to the laptop, connects it in two clicks, and moves the documentation browser onto it. The main screen stays entirely dedicated to the editor. In the evening she just lifts the iPad off the stand and it's a tablet for reading again. On a business trip, the same setup works in a hotel room or a client's conference room — a two-screen workstation that packs into one bag and sets up in a minute.
What you get out of it
Switching between windows is one of the biggest hidden time-sinks of working on a laptop — a second screen removes most of it, and here without buying anything new. And if you'd rather use the iPad next to your Mac as a standalone device with its own apps, look at the related feature Universal Control — controlling both devices with a single keyboard and mouse.
Want to go deeper? The handbook has a whole chapter on it — The complete guide to an effective home office.
Similar tips
A Global .gitignore: Solve .DS_Store Once and For All
Files from your system and editor don't belong in every project's .gitignore. Set up a global ignore file instead — it applies to every repository.
git reflog: A Rescue When You've “Deleted” Commits
Bad reset, deleted branch, a rebase gone wrong? git reflog shows the history of everywhere HEAD has been — and lost commits can be brought back.
git stash: Set Work Aside for Later
An urgent fix comes in and your code is half-finished? git stash tucks it away in a drawer, git stash pop brings it back. No half-baked commits.
Was this helpful?
Liked this tip?
I send one like it every week by email. Two minutes to read, hours saved.
The Top 30 tips e-book, free — it lands in your inbox right away.
Then 1 tip a week · no spam · unsubscribe in one click
Prefer a system to single tips? The free email course — seven days, seven emails, one skill a day.