Tips & tricks · Apps · Everywhere · ~10 min per presentation · 2 min read
Align objects with the tool, not by eye
Last reviewed:
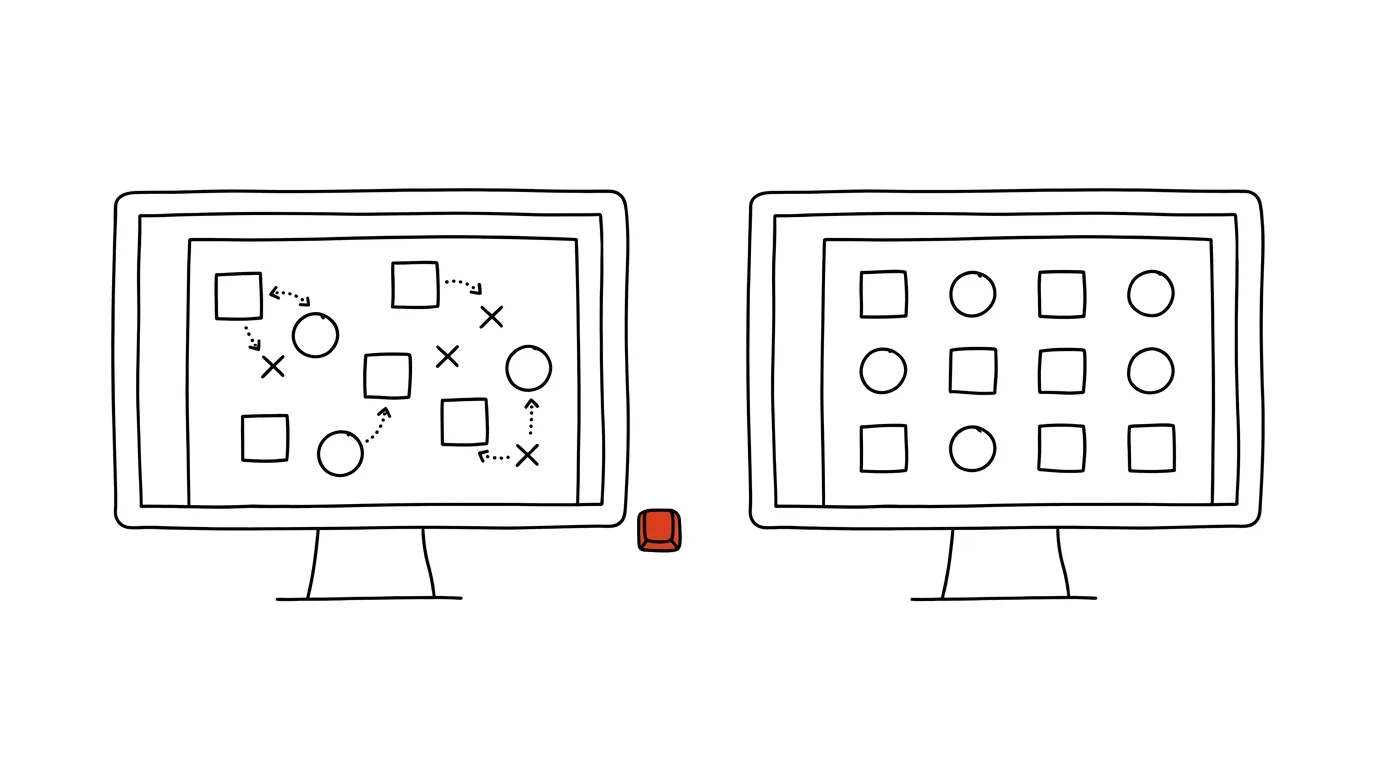
Everyone notices "almost aligned," even a viewer who won't spot any other detail on the slide. Manually dragging shapes with the mouse to sit at the same height or the same spacing is also slow and never fully precise. PowerPoint has a built-in tool that calculates the alignment and spacing for you — exact to the pixel, in two clicks.
A typical scenario
You're building a slide with four icons and captions underneath them meant to represent process steps. You drag them one by one with the mouse, eyeballing the same height and the same gaps between them — and even after several minutes of fiddling, one icon still sits a few pixels higher than the rest, which is obvious at a glance and looks sloppy. With the alignment tool, you select all four objects at once, click align and distribute — and the spacing and heights line up with mathematical precision, no guesswork.
How to do it
- Select the objects you want to align — click the first one and, holding Shift, click the rest one by one.
- Go to Shape Format → Align (in some versions this option sits directly on the Arrange tab).
- Pick the alignment type you need — Align Left, Align Center, Align Top, and so on; the objects line up along the chosen axis.
- For even spacing between three or more objects, use Distribute Horizontally or Distribute Vertically — PowerPoint calculates equal gaps between all selected objects automatically.
- Before aligning objects relative to each other, check "Align to Slide" versus "Align Selected Objects" in that same menu — the first lines objects up against the whole slide, the second only against each other, and mixing up these two modes is the most common reason alignment "doesn't work" the way you expect.
The best tools
- The built-in Align and Distribute tool in both PowerPoint and Google Slides — free, nothing to install.
- Guides and grid (turn on from the View menu) — supplement the alignment tool with visual guidance when manually placing new objects.
- Snap to shapes — auto-suggests alignment while you drag with the mouse, before you even reach for the menu.
What you get out of it
- Time: roughly 10 minutes per slide with multiple objects, compared to fine-tuning position by hand and by eye.
- Quality: slides look professionally polished, and the difference is visible at a glance even to a non-expert.
- Fewer errors: mathematically precise alignment rules out the "almost, but not quite" outcome.
- Consistency across the presentation: you use the same process on every slide, so the whole deck reads as unified rather than assembled by different hands.
Pro tip
Alignment also works with grouped objects — if you've grouped an icon with its caption into one unit (right-click → Group), you're aligning and distributing whole groups at once instead of individual elements, which is noticeably faster with a larger number of objects.
Want to go deeper? The handbook has a whole chapter on it — The app categories that matter.
Similar tips
Screenshot the Whole Page — Even the Part You Have to Scroll To
Ctrl+Shift+S
Edge and Firefox capture an entire web page from header to footer with a single command. No extensions, no stitching pieces together.
Search tabs, history, and bookmarks with @
Type @tabs, @history, or @bookmarks into Chrome's address bar — and you're searching only open tabs, history, or bookmarks.
In-depth guide · 19 min
Claude, ChatGPT, or Gemini: A Fair Comparison Based on What You Actually Do With AI
Seven criteria, three tools, no marketing: language quality, documents, connectors, routines, and pricing. Plus a decision guide and a test of your pick.
Was this helpful?
Liked this tip?
I send one like it every week by email. Two minutes to read, hours saved.
The Top 30 tips e-book, free — it lands in your inbox right away.
Then 1 tip a week · no spam · unsubscribe in one click
Prefer a system to single tips? The free email course — seven days, seven emails, one skill a day.