Tips & tricks · Apps · Browser · ~5 min a week · 3 min read
Checkboxes in Google Sheets: a checklist in under a minute
Last reviewed:
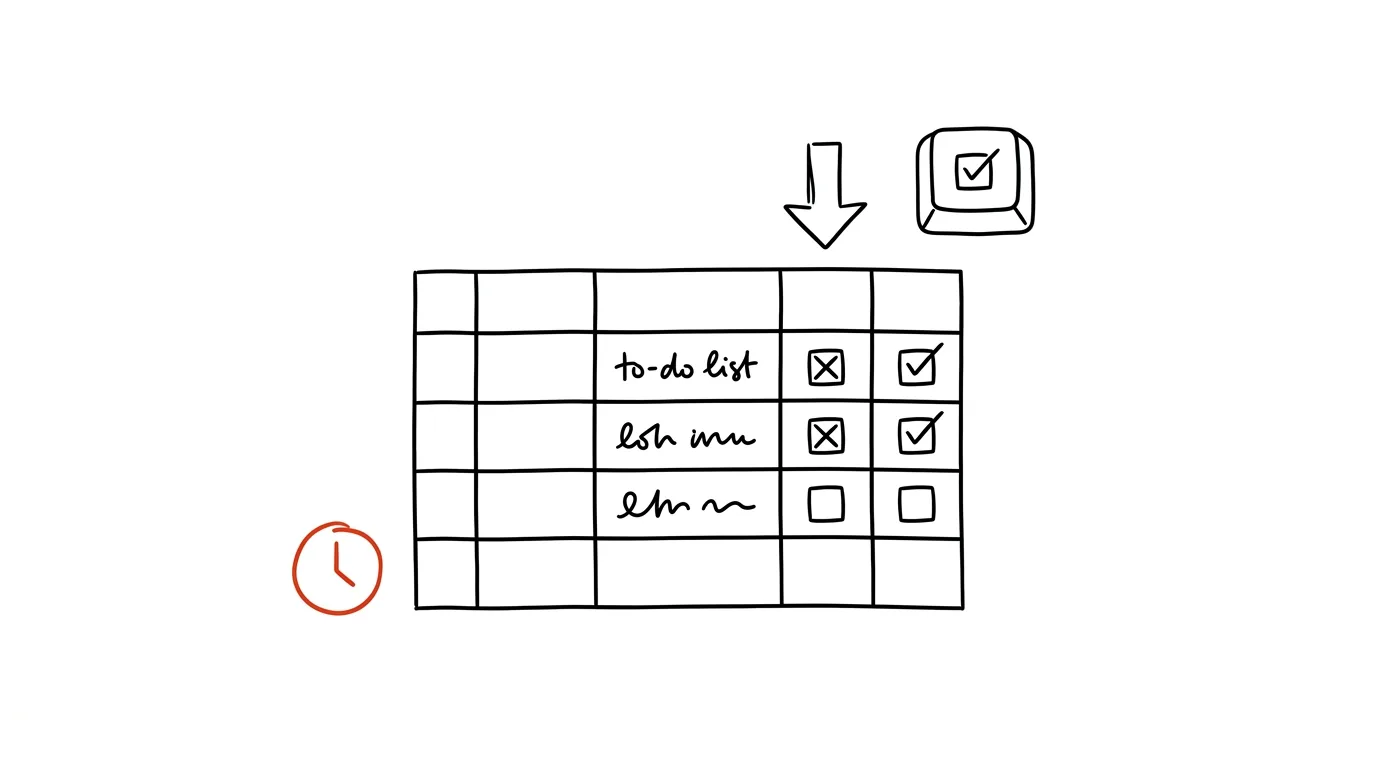
Tracking done/not-done doesn't need a separate app. Google Sheets has a built-in feature that turns any range of cells into interactive checkboxes — and because they're still just ordinary spreadsheet cells, you can attach conditional formatting and formulas to them that automatically tally how much is done.
A typical scenario
You keep a task list for a small project in a spreadsheet and need to quickly see what's done and what isn't, without setting up a whole separate task app for it. Without checkboxes, you type “yes” or “done” by hand into a column next to each task, which is slow both to type and to evaluate afterward, since the text can be written inconsistently and is hard to count reliably. With checkboxes, a click is enough — the box flips to checked, a formula automatically counts how many tasks are done, and conditional formatting can gray out finished rows right away, so you can tell them apart from unfinished ones at a glance.
How to do it
- Select the range of cells where you want checkboxes — typically one column next to your task list.
- From the top menu, go to Insert → Checkbox.
- An interactive checkbox appears in each selected cell — click it to toggle between checked and unchecked, while behind the scenes the cell holds a value of TRUE (checked) or FALSE (unchecked).
- To see how many tasks are done, use the formula
=COUNTIF(A:A, TRUE)in a separate cell (replacing A:A with your actual checkbox column) — it counts how many boxes are currently checked. - You can set up conditional formatting (Format → Conditional formatting) so that a row with TRUE in the checkbox column automatically grays out or strikes through the task text — visually separating finished items from the rest without having to manually delete or move them.
The best tools
- Built-in checkboxes in Google Sheets — free, works like an ordinary cell, so it combines easily with formulas and formatting.
- A similar feature in Excel (via the Developer tab or data validation) — the same idea for Microsoft 365 users, a bit more involved to set up.
- A dedicated task app (Todoist, Trello, and similar) — a better fit once the checklist grows into a project with deadlines, assigned people, and dependencies between tasks.
What you get out of it
- Time: an estimated 5 minutes a week saved compared to typing and recalculating a done/not-done status by hand in text.
- Clarity: you see the ratio of done to not-done at a glance, especially combined with conditional formatting.
- Fewer errors: a checkbox only has two states, eliminating the risk of typos or inconsistent entries (“done” vs. “Done” vs. “yes”).
- Easy status sharing: colleagues see the same checklist in real time, without having to ask what's finished.
Pro tip
You can assign custom values to checkboxes instead of the default TRUE/FALSE — in the insert dialog, choose Use custom cell values and set something like “Done” and “Pending.” Formulas then need to reference these custom labels instead of TRUE/FALSE.
Want to go deeper? The handbook has a whole chapter on it — The app categories that matter.
Similar tips
In-depth guide · 19 min
From a meeting recording to notes with tasks in a minute
A complete guide with prompts: from recording consent to notes that separate decisions from discussion, list who-what-by-when tasks, and admit what's open.
In-depth guide · 17 min
Meetings that write themselves up — down to the tasks in your task list
A guide with prompts for an automatic chain: transcription, who-what-by-when tasks filed straight into your task manager, and the rules to set first.
Alt + Tab: switch windows without touching the mouse
Alt+Tab
The most famous shortcut, and most people only use half of it. Hold Alt and cycle through.
Was this helpful?
Liked this tip?
I send one like it every week by email. Two minutes to read, hours saved.
The Top 30 tips e-book, free — it lands in your inbox right away.
Then 1 tip a week · no spam · unsubscribe in one click
Prefer a system to single tips? The free email course — seven days, seven emails, one skill a day.