Tips & tricks · Apps · Mobile · ~10 min a week · 3 min read
The scanner in iPhone Notes: PDFs with no extra apps
Last reviewed:
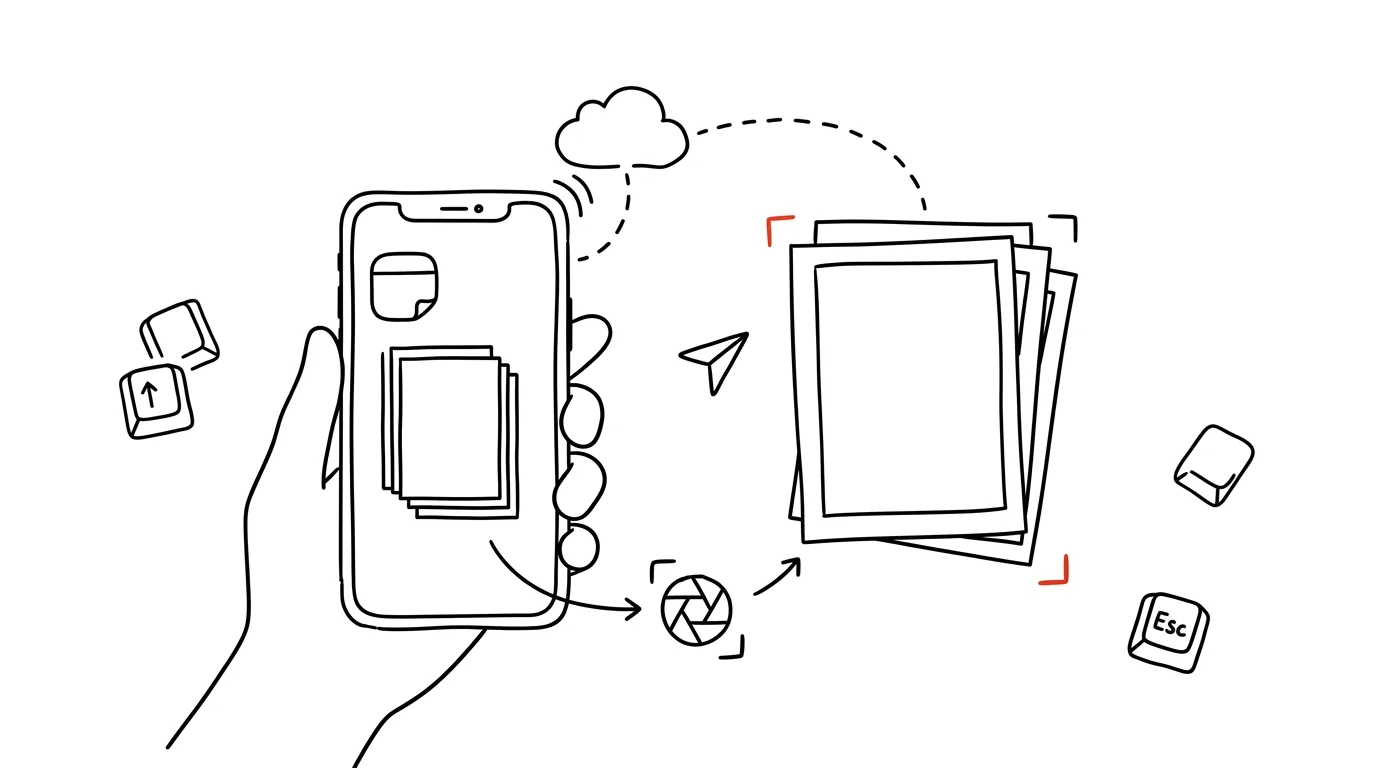
Paper stops existing the moment you photograph it properly. The Notes app, which every iPhone has had built in from the factory, hides a full-featured document scanner — a straight photo gets automatically cropped, straightened, and brightened like a scanned page, not like an ordinary photo from your camera roll.
A typical scenario
You get a paper invoice from a vendor, or a signed contract you need to send to your accountant. Photographing it "quickly" with your phone means a crooked corner, a shadow from your own hand, and a file nobody wants to open. Through the scanner in Notes, you photograph the same document and the app finds the edges on its own, straightens the shot into a right angle, and sharpens the text — the result looks like it went through an actual desktop scanner, and it's a PDF right away, not a photo from your camera roll.
How to do it
- Open the Notes app and create a new note (or open an existing one).
- Tap the camera icon in the toolbar and choose Scan Documents.
- Point your phone at the document — the app detects the edges on its own and takes the photo automatically after a moment, or press the shutter manually if you want control over the exact moment of capture.
- The scan is cropped and straightened right away; if the result isn't quite right, you can drag the crop corners with your finger to adjust them manually.
- For a multi-page document, keep photographing additional pages — they'll all end up in one file.
- When you're done, tap Save — a PDF is created right inside the note, which you can then share via AirDrop, email, or message.
The best tools
- The scanner in Notes (iOS) — built in, free, no other app needed.
- Google Drive / Google Lens — a similar auto-cropping scanner for Android users or anyone who wants the scan straight in the cloud.
- Adobe Scan — for more demanding needs: text recognition, automatic sorting into folders, and export directly to searchable PDF.
- Microsoft Lens — a good alternative for anyone working in Microsoft 365 who wants the scan straight into OneDrive.
What you get out of it
- Time: no hunting for a scanner or waiting to get to a printer with scanning built in — you have the document done in seconds, wherever you happen to be standing.
- Output quality: a straightened, cropped, legible document instead of a crooked, glare-filled photo nobody wants to print or forward.
- Organization: multi-page documents end up in one file, not ten separate photos in your camera roll.
- Independence from paper: you can toss or file away the original once it's scanned — the digital copy is just as good.
Pro tip
Scan on a flat surface with contrasting background (a dark desk under a white sheet of paper) — the algorithm finds the edges far more reliably than on a surface that's a similar color to the document. And if you'll need the scan somewhere other than Notes, share it straight from there — the note stays behind as a backup.
Want to go deeper? The handbook has a whole chapter on it — The app categories that matter.
Similar tips
Todoist filters: your own “important today” view
The query (p1 | p2) & due:today shows only what actually matters today. You don't see the rest — and that's the point.
Todoist: priority and due date right in the task text
Q
Type “p1” and the task turns red, “tomorrow 9am” and it gets a due date. Quick Add understands it all in one line.
Todoist: add a task in a single sentence
“every Monday at 10 #meetings p1” — Todoist picks up the date, recurrence, project, and priority straight from the text.
Was this helpful?
Liked this tip?
I send one like it every week by email. Two minutes to read, hours saved.
The Top 30 tips e-book, free — it lands in your inbox right away.
Then 1 tip a week · no spam · unsubscribe in one click
Prefer a system to single tips? The free email course — seven days, seven emails, one skill a day.